🧰 Tools & Gear You’ll Need
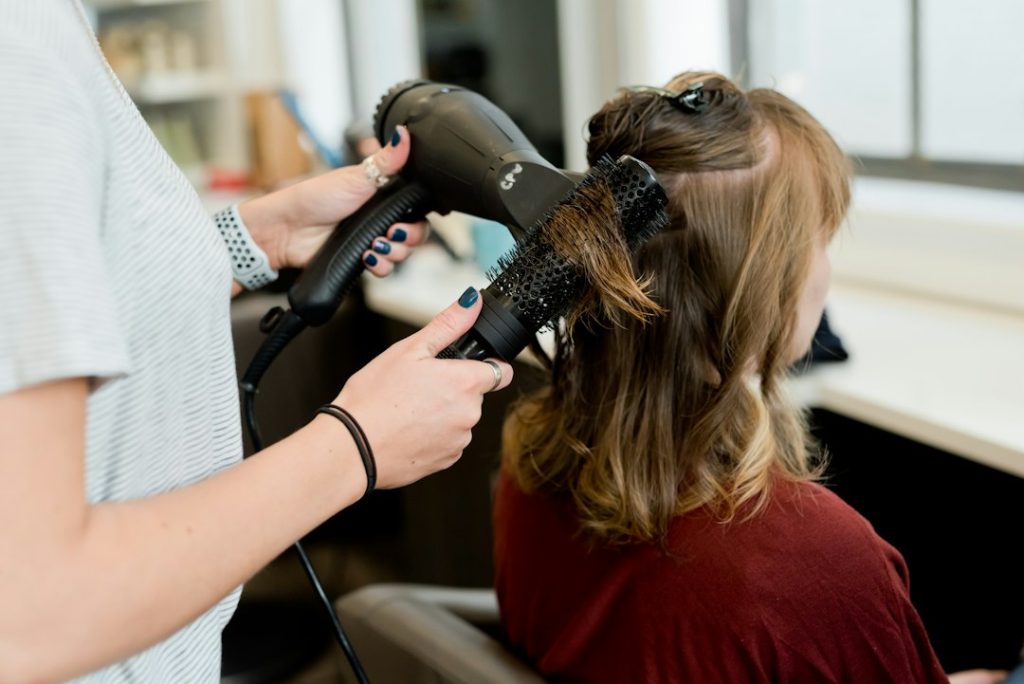
- A powerful blow dryer with adjustable heat and speed settings (preferably with a nozzle attachment)
- A medium-sized round brush or a well-designed vent brush
- High-quality heat protectant spray
- Volumizing mousse or root-lifting spray
- Sectioning clips (optional, but helpful)
- A flexible-hold hairspray (for finishing)
- A wide-tooth comb
The Science Behind Upside-Down Blow Drying for Fine Hair
Why Fine Hair Needs Extra Root Lift
Fine hair, by its very nature, has a smaller diameter than coarse hair. This means it has less inherent structure and weight, making it more susceptible to falling flat. The individual strands lie closer together, creating a denser appearance but lacking the airy separation that gives the illusion of thickness. Without proper root lift, the hair lies directly against the scalp, which not only looks flat but can also trap oil, making hair appear greasy faster. The goal with fine hair is to create separation and lift at the scalp to maximize the surface area of the hair, giving the appearance of fullness and volume.
How Gravity Aids Your Blow Dry Technique
The principle is elegantly simple: gravity. When you invert your head, gravity pulls your hair down and away from your scalp. This creates a natural separation between the hair strands and, more importantly, lifts the roots directly off the scalp. As you direct airflow and use your brush, you’re essentially training the hair in this lifted state. When you return to an upright position, the hair retains that lifted memory, appearing significantly fuller and more voluminous. It’s like propping up a tent pole – gravity helps keep it upright once you’ve secured the base.

Understanding Heat and Airflow for Volume
Heat and airflow are your primary tools for manipulating hair. Heat softens the hair’s keratin structure, making it pliable. When combined with tension from a brush and the direction of airflow, you can mold the hair into a desired shape. For volume, the key is to direct the hot air at the roots while the hair is being lifted by gravity and the brush. The airflow helps to push the hair upward and away from the scalp, while the heat sets it in that position. A concentrator nozzle on your blow dryer is crucial here; it focuses the airflow precisely where you need it—at the roots—without blasting the ends and causing frizz. Cool air, on the other hand, is used to set the style, making the hair shaft contract and solidify the shape you’ve created.
Essential Tools for the Perfect Upside-Down Blow Dry
Choosing the Right Blow Dryer (Ionic vs. Ceramic)
For fine hair, an ionic blow dryer is often the preferred choice. Ionic technology emits negative ions, which help to break down positive water molecules in the hair. This results in faster drying times and reduces frizz by sealing the hair cuticle. Ceramic dryers, on the other hand, distribute heat more evenly, which can be gentler but may not offer the same frizz-fighting benefits. Ultimately, a dryer with adjustable heat and speed settings and a concentrator nozzle is more critical than the specific technology. Look for one that’s lightweight and comfortable to hold for extended periods, especially when your arms are raised.
Selecting the Best Brush for Fine Hair (Round vs. Vent)
The brush choice significantly impacts the outcome. A medium-sized ceramic or boar bristle round brush can provide excellent tension and smoothness, helping to shape the hair as you dry. The bristles grip the hair, allowing you to lift and direct it effectively. However, for pure root lift without much shaping, a vent brush can be more efficient. Its open design allows air to circulate freely, speeding up drying time and preventing the hair from getting too hot. For the upside-down technique, a brush that allows you to get close to the roots and lift them is paramount. Some experts recommend boar bristles for fine hair as they distribute natural oils and add shine, while preventing static. If you opt for a round brush, ensure the barrel size isn’t too large; a medium barrel is usually Best for fine hair lengths.
Heat Protectant Sprays: A Non-Negotiable Step
This is where many people with fine hair make a critical error: skipping this step. Fine hair has less natural protection and is far more vulnerable to heat damage. A heat protectant spray creates a barrier between your hair and the blow dryer, significantly reducing the risk of dryness, breakage, and split ends. Look for lightweight formulas that won’t weigh down fine hair. Apply it evenly from mid-shaft to ends, and lightly mist over the roots before you begin drying. It’s the most important preventative measure you can take.

Volumizing Mousses and Sprays: Boosting Fine Hair
These products are designed to plump up the hair shaft and provide hold at the roots. Mousses offer buildable volume and are great for creating a fuller look. Root-lifting sprays are specifically formulated to target the scalp area, providing maximum lift right where you need it. Apply them to damp hair before blow-drying. Distribute mousse evenly throughout the hair, focusing on the roots. For sprays, aim directly at the root area. The key is not to overdo it; too much product can make fine hair sticky, heavy, or greasy. Start with a small amount and add more if needed.
Step-by-Step: The Upside-Down Blow Dry Technique for Maximum Volume
Preparation: Washing and Towel-Drying Fine Hair
Start with clean hair. Wash your hair using a volumizing shampoo and conditioner. Avoid heavy, moisturizing formulas that can weigh fine hair down. After rinsing, gently squeeze out excess water with your hands. Blot your hair with a soft towel—avoid vigorous rubbing, which can cause frizz and breakage. Hair should be damp, not soaking wet, before applying products and beginning the blow-dry process. Overly wet hair takes longer to dry and can dilute the effectiveness of your styling products.
Applying Volumizing Products Correctly
Once your hair is towel-dried to dampness, it’s time for product. Apply your chosen volumizing mousse or root-lifting spray. If using mousse, dispense a golf-ball-sized amount into your palm, rub your hands together, and distribute it evenly from roots to ends. If using a root-lifting spray, tilt your head slightly and spray directly onto the roots all over your scalp. Ensure even distribution, but avoid applying too much, which can lead to stiffness or a greasy feel.

The Upside-Down Blow Dry Method: Head Tilted Down
This is the core of the technique. Bend over at the waist, allowing your head to hang freely towards the floor. Your hair should cascade down naturally. This position uses gravity to lift the roots away from your scalp, creating the foundation for volume. Ensure you have a stable footing and comfortable position, as you’ll be holding this pose for several minutes.
Focusing Heat on the Roots
Attach the concentrator nozzle to your blow dryer. Set the dryer to a medium heat and medium speed setting. Start by directing the airflow directly at your roots. As you move the dryer around your head, focus the heat on sections of the roots, ensuring the hot air is always pointing upwards towards the scalp, away from the ends of your hair. This is crucial for maximizing lift. Keep the dryer moving to prevent overheating any single spot.
Alternating Brush Strokes for Lift and Shape
While directing heat at the roots, use your brush to lift and manipulate the hair. With a round brush, place it under a section of hair near the roots and lift upwards as you direct the dryer’s airflow. With a vent brush, simply use it to lift and separate the roots as the air passes through. Work in small sections, drying the roots thoroughly from all angles. Experiment with directing the airflow slightly forward, backward, and to the sides at the root area to create multi-directional lift.
Cooling the Hair to Set the Volume
Once the roots are completely dry and lifted, switch your blow dryer to the cool shot setting. Continue directing the cool air at the roots while maintaining the upside-down position. This step is vital for setting the volume and making it last. The cool air helps to close the hair cuticle and solidify the shape, locking in the lift you’ve created.
Transitioning Back to an Upright Position
Gently return to an upright position. Avoid touching or raking through your hair too much at this stage, as you want to preserve the newly created volume. If needed, use your fingers to gently separate any hair that’s stuck together. A quick blast of cool air from your dryer while upright can help set the style further.

Refining Your Technique: Tips and Tricks for Stubborn Fine Hair
Dealing with Flyaways and Frizz
Fine hair is notoriously prone to flyaways and frizz. The upside-down technique can sometimes exacerbate this if not done carefully. The key is to ensure your heat protectant is applied evenly and to use the cool shot setting effectively. Once upright, if you notice persistent flyaways, use a tiny amount of smoothing serum or a light-hold hairspray on your fingertips and gently smooth them down. Avoid heavy creams or oils, which will weigh the hair down. A boar bristle brush can also help tame flyaways by distributing natural oils and smoothing the cuticle.
Adding Texture and Movement Post-Blow Dry
While the upside-down method provides incredible root lift, sometimes fine hair can still look a bit stiff or lack definition. Once your hair is dry and upright, you can add texture and movement. Use your fingertips to gently tousle the roots. A texturizing spray applied to the mid-lengths and ends can add grit and separation. For a softer look, a light-hold flexible hairspray will provide hold without stiffness. Avoid heavy waxes or pomades, which are too rich for fine hair.
Troubleshooting Common Upside-Down Blow Dry Mistakes
Mistake 1: Not drying the roots completely. If roots are left even slightly damp, they will collapse. Ensure you spend ample time focusing heat and airflow on the root area until it’s bone dry. Mistake 2: Using too much heat. Fine hair can scorch easily. Always opt for medium heat and keep the dryer moving. Mistake 3: Over-brushing. Excessive brushing, especially when the hair is hot, can break delicate strands and reduce volume. Be gentle and deliberate with your brush strokes. Mistake 4: Using too much product. This is a cardinal sin for fine hair, leading to greasiness and flatness. Start light and build up if necessary.
Quick Fixes for Flat Hair Throughout the Day
Even with the best blow dry, fine hair can fall flat. Carry a travel-sized root-lifting spray or a texturizing dry shampoo. At the first sign of flatness, flip your head upside down again and give the roots a quick blast of cool air from your dryer (if available) or apply a touch of product. Dry shampoo can be a lifesaver, not just for absorbing oil but also for adding a bit of grit and lift at the roots. Apply it sparingly and massage it in with your fingertips.
Maintaining Your Volume: Beyond the Blow Dry
Best Styling Products for Long-Lasting Volume on Fine Hair
For sustained volume, layering products is key. Start with a volumizing mousse or spray at the roots on damp hair. Once dry, a light-hold, flexible hairspray is essential for setting the style without making it stiff. For added texture and separation, consider a texturizing spray applied to the mid-lengths and ends. Dry shampoo is also a multi-tasker; use it strategically at the roots to refresh volume and absorb oil between washes. Look for formulas specifically designed for fine hair to avoid weighing it down.
Overnight Strategies to Preserve Root Lift
Sleeping on your volume can be challenging. Avoid tying your hair tightly. Instead, try loosely gathering the top section of your hair into a very loose bun or ponytail high on your head. This helps maintain some lift without creating creases. Another effective method is to use large silk or satin rollers on the crown area after your hair has cooled from blow-drying. These methods aim to keep the roots from being flattened against your pillow.
Haircut and Styling Tips to Enhance Natural Volume
The right haircut can make a world of difference. Layers, especially strategic ones around the crown and top, can create movement and the illusion of thickness. Avoid blunt, one-length cuts, which can make fine hair look even flatter. Consider subtle internal texturizing by your stylist to remove weight. When styling, always aim to dry your roots first, even if you’re not doing the full upside-down method. Using velcro rollers at the crown while your hair cools can also provide significant lift.
Expert Q&A: Common Questions About Blow Drying Fine Hair for Volume
How often can I blow dry my fine hair upside down?
You can perform the upside-down blow dry technique as often as you wash your hair. The primary concern is heat damage, not the technique itself. As long as you are using a heat protectant, medium heat settings, and not over-drying, it’s safe for daily or frequent use. The key is to prioritize the health of your hair by using appropriate temperatures and protective products.
Will this technique damage my fine hair?
Not if done correctly. The potential for damage comes from excessive heat, prolonged exposure to high temperatures, and skipping heat protection. By using medium heat, a heat protectant spray, and the cool shot to set the style, you minimize the risk of heat damage. The upside-down technique itself, when executed with care, is not inherently damaging.
How to adapt the technique for different hair lengths?
Short Hair: For pixie cuts or bobs, the principle remains the same, but you’ll likely only need to invert your head briefly to lift the roots. Focus on directing airflow and brush upwards at the crown. Medium to Long Hair: The full upside-down technique works best here. You may need to section your hair to ensure all areas are dried thoroughly, especially the lower layers. For very long hair, ensure the dryer’s heat doesn’t focus too long on the ends, as they are most prone to damage.
Can I achieve volume without heat styling?
Absolutely. While blow-drying upside down is incredibly effective, you can achieve volume through other methods. Air-drying with root-lifting products applied, using large velcro rollers set into damp hair and allowing it to air dry, or sleeping in loose braids or buns can all contribute to volume. Wet-setting techniques using rollers or flexi-rods can also provide significant lift without heat. The key is to manipulate the hair at the roots and allow it to dry in a lifted position.